
How to connect a wallet to your React app using Wagmi
Learn how to use Wagmi to allow your users to connect their wallet on your website. It works for MetaMask, Coinbase Wallet, Wallet Connected and all the wallets that have browser extensions.
In this tutorial, we are going to learn how to use Wagmi to allow your users to connect their wallet to your React app. It works for MetaMask, Coinbase Wallet, WalletConnect and all the wallets that have browser extensions.
The first thing to do is define the connectors that we want our Wagmi client to use. The connectors are the wallets that our app can support.
Here, I'm going to use all the available connectors so I'm going to create an array that contains them all:
import { InjectedConnector } from 'wagmi/connectors/injected';
import { CoinbaseWalletConnector } from 'wagmi/connectors/coinbaseWallet';
import { MetaMaskConnector } from 'wagmi/connectors/metaMask';
import { WalletConnectConnector } from 'wagmi/connectors/walletConnect';
import { chain, configureChains, createClient, WagmiConfig } from 'wagmi';
import { infuraProvider } from 'wagmi/providers/infura';

const { chains, provider } = configureChains(
  // PUT THE CHAINS YOU WANT HERE
  [chain.mainnet],
  // PUT THE PROVIDERS YOU WANT HERE
  [infuraProvider({ apiKey: 'API_KEY' })],
);

const connectors = [
  new InjectedConnector(),
  new CoinbaseWalletConnector({
    options: {
      appName: '0xDev Test',
    },
  }),
  new MetaMaskConnector(),
  new WalletConnectConnector({
    options: {
      qrcode: true,
    },
  }),
];

const wagmiClient = createClient({
  autoConnect: false,
  connectors,
  provider,
});

function App() {
  return (
    <WagmiConfig client={wagmiClient}>
        <div className="App">
        </div>
    </WagmiConfig>
  );
}

export default App;
As you can see, we need to create an array of connectors, which are the wallets we want our app to support, and we pass these connectors to the createClient function that we use to create the Wagmi client.
Creating Wagmi connectors
So we have 4 connectors:
InjectedConnector: Allows users to connect any wallet with a browser extension like MetaMask.CoinbaseWalletConnector: Allows you to connect a Coinbase wallet, either through the mobile app or the browser extension.
It takes in parameter an object containing anoptionsproperty which is an object in which you have to pass anappName.MetaMaskConnector: Allows you to connect a MetaMask wallet, either through the mobile app or the browser extensionWalletConnectConnector: Allows you to connect a wallet through WalletConnect.
It takes in parameter an object containing anoptionsproperty in which you can configure the connector. In the example above, we enable displaying a QR code to allow users to connect their wallet.
In both the CoinbaseWalletConnector and the WalletConnectConnector, you can pass a JSON-RPC API URL that Wagmi will use to interact with the blockchain.
It allows you to avoid the rate limits of public API URL providers.
For example, you can pass an Infura URL or an Alchemy URL that corresponds to the network your app is using.
If you want to pass a blockchain API URL to the CoinbaseWalletConnector, you can pass the URL to the jsonRpcUrl property in the options object:
const coinbaseConnector = new CoinbaseWalletConnector({
  options: {
    appName: '0xDev Test',
    jsonRpcUrl: 'YOUR_URL_HERE',
  },
})
And for the WalletConnectConnector, you can pass the URL in the rpc property in the options object:
const WalletConnectConnector = new WalletConnectConnector({
  options: {
    qrcode: true,
    rpc: {
      1: 'YOUR_URL_HERE',
    },
  },
})
In this example, 1 is the chain ID of the network you are passing a URL for. You can find the ID of any network here: https://chainlist.org/
Creating a connect wallet button in Wagmi
At this point, you created your connectors, the chains your app supports, the providers and used all of that to create a Wagmi client. Then you wrapped your app in a WagmiConfig component and passed the Wagmi client in the props.
Now, we need to create a button to allow users to connect their wallet. We have to make a different button for each wallet that our app supports.
For that, we use the useConnect hook:
import { useAccount, useConnect } from 'wagmi';

export function ConnectWalletButtons() {
  // Get the connected wallet
  const { connector: connectedWallet, isConnected, address } = useAccount();

  // Get the connectors and the connect function
  const { connect, connectors, error, isLoading, pendingConnector } = useConnect();

  return (
    <div>
      {/* Display information about the connected wallet */}
      {isConnected && (
        <div>
          <p>You are connected with {connectedWallet.name}</p>
          <p>with the account: {address}</p>
        </div>
      )}
      {isLoading && pendingConnector && (
        <p>Connection to {pendingConnector.name}...</p>
      )}
      {/* For each connector, display a connect button */}
      {connectors.map((connector, i) => (
        <button
          disabled={!connector.ready}
          key={i}
          onClick={() => connect({ connector })}
        >
          {connector.name}
        </button>
      ))}
      {error && <p>Could not connect the wallet: {error.message}</p>}
    </div>
  );
}
The useConnect hook will return an object with the following properties:
connect: A function that you can call to allow users to connect a specific wallet. In the parameters of that function, you can pass an object with aconnectorproperty in which you pass the wallet connector you want.connectors: The list of connectors your app supports, the same list that you passed to create the Wagmi client.error: If the process of connecting a wallet failed, it will contain the error that was thrown, otherwise it'snull.
For example, if the user rejects connecting their wallet, an error will be thrown and it will be contained in this property.pendingConnector: After calling theconnectfunction with a connector, while waiting for the user to accept connecting their wallet to your app, that property will contain the connector that you calledconnectwith.
For example, if you callconnectwith the MetaMask connector, while the user hasn't confirmed on their wallet that they accept connecting their wallet, this property will contain the MetaMask connector.isLoading: A boolean that istruewhile waiting for the user to accept connecting their wallet to your app andfalseotherwise.
Here is the documentation about the useConnect hook, if you want to learn more about it.
Now, depending on the connector that you pass to the connect function, the app will behave differently.
If you passed an InjectedConnector, it will open a pop-up on any browser extension of a wallet that the user has installed and it will ask the user to confirm they want to connect their wallet. If no extension is not installed, it will throw an error.
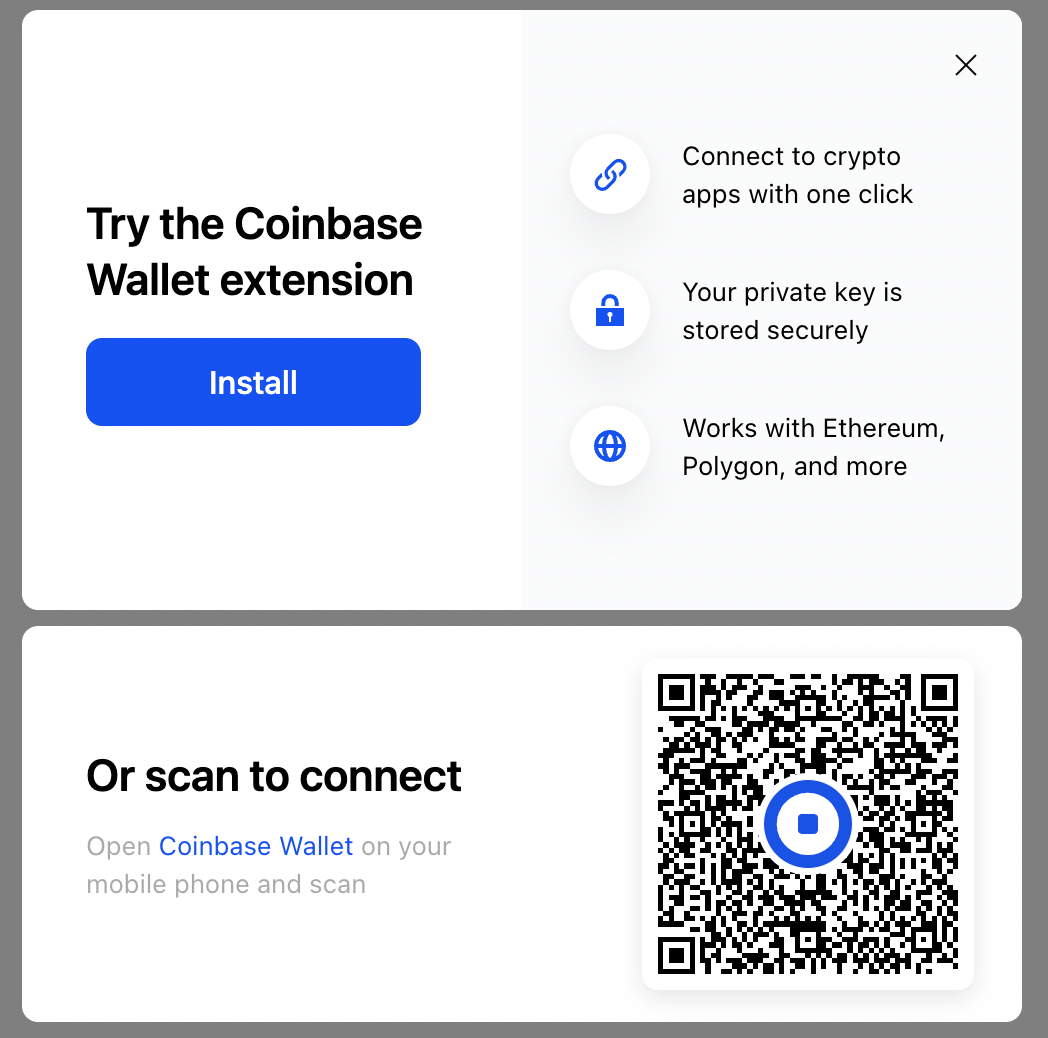
If you passed a CoinbaseWalletConnector, it will open a modal that allows the users to either connect their Coinbase wallet either through the mobile app using the QR code displayed or the browser extension if it's installed.
If you passed a MetaMaskConnector, it will open a pop-up on the MetaMask browser extension asking the user to confirm connecting their wallet. If the extension is not installed, it will throw an error.
If you passed a WalletConnectConnector, it will display a modal with a QR code that users can scan with the mobile app of their wallet to connect that wallet.

Getting information about the connected wallet
When a wallet is connected to your app, you can use the useAccount hook to get information about it.
That hook will return the following properties which will give you specific information about the connected wallet:
address: The address of the connected walletconnector: The connector used to connect the wallet (it will tell you what wallet is connected)isConnecting: A boolean indicating if the app is waiting for confirmation from the user to connect their wallet or notisConnected: A boolean indicating if a wallet is connected or not
If you want to learn more about the useAccount hook, check out the documentation here.
How to disconnect a wallet from your app
To disconnect a wallet from your app, you can use the useDisconnect hook which returns an object containing a disconnect function. When you call that function, it disconnects the wallet that is connected to your app.
And of course, if no wallet is connected, that function won't do anything.
Check out the documentation to learn more about that hook.
Fixing the "Buffer is not defined" error
Using Webpack 5 and Create-react-app, you might get an error when trying to use the WalletConnectConnector or the CoinbaseWalletConnector saying "Buffer is not defined".
To fix that, you need to install that package manually by running:
npm install --save-dev bufferor with Yarn:
yarn add -D bufferAnd then at the very top of you App.js file, you need to add this line of code:
window.Buffer = window.Buffer || require('buffer').Buffer;That will do the trick and you won't see the error anymore. That error will probably be fixed in future versions of Webpack.
And that's it 🎉
Thank you for reading this article

