
How to use Infura Ethereum API for web3 dApps
In this tutorial, we are going to learn how to use the Infura Ethereum API as a provider for web3 dApps with JavaScript and Node.
In this tutorial, we are going to learn how to use the Infura Ethereum API as a provider for web3 dApps with JavaScript and Node.
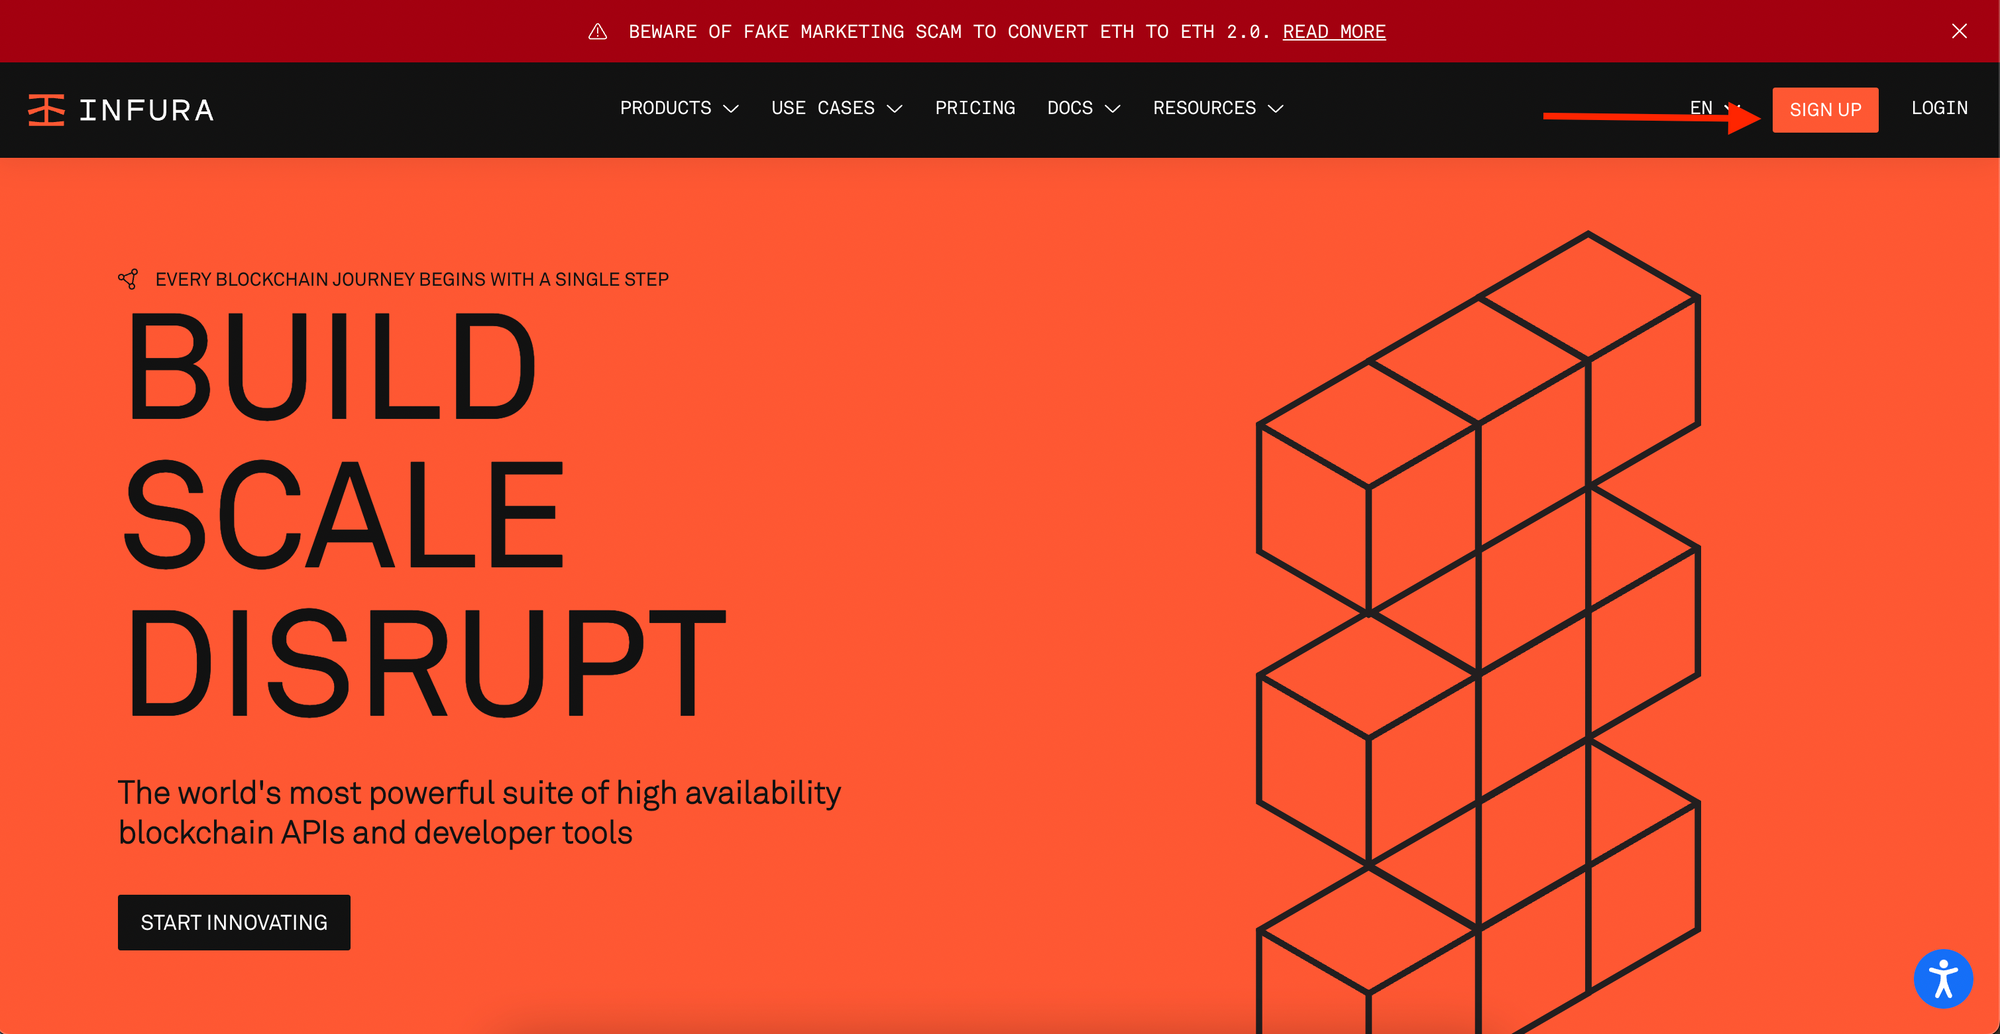
First, you need to go to https://infura.io/ and create an account, if you haven't already, by clicking on "sign up":
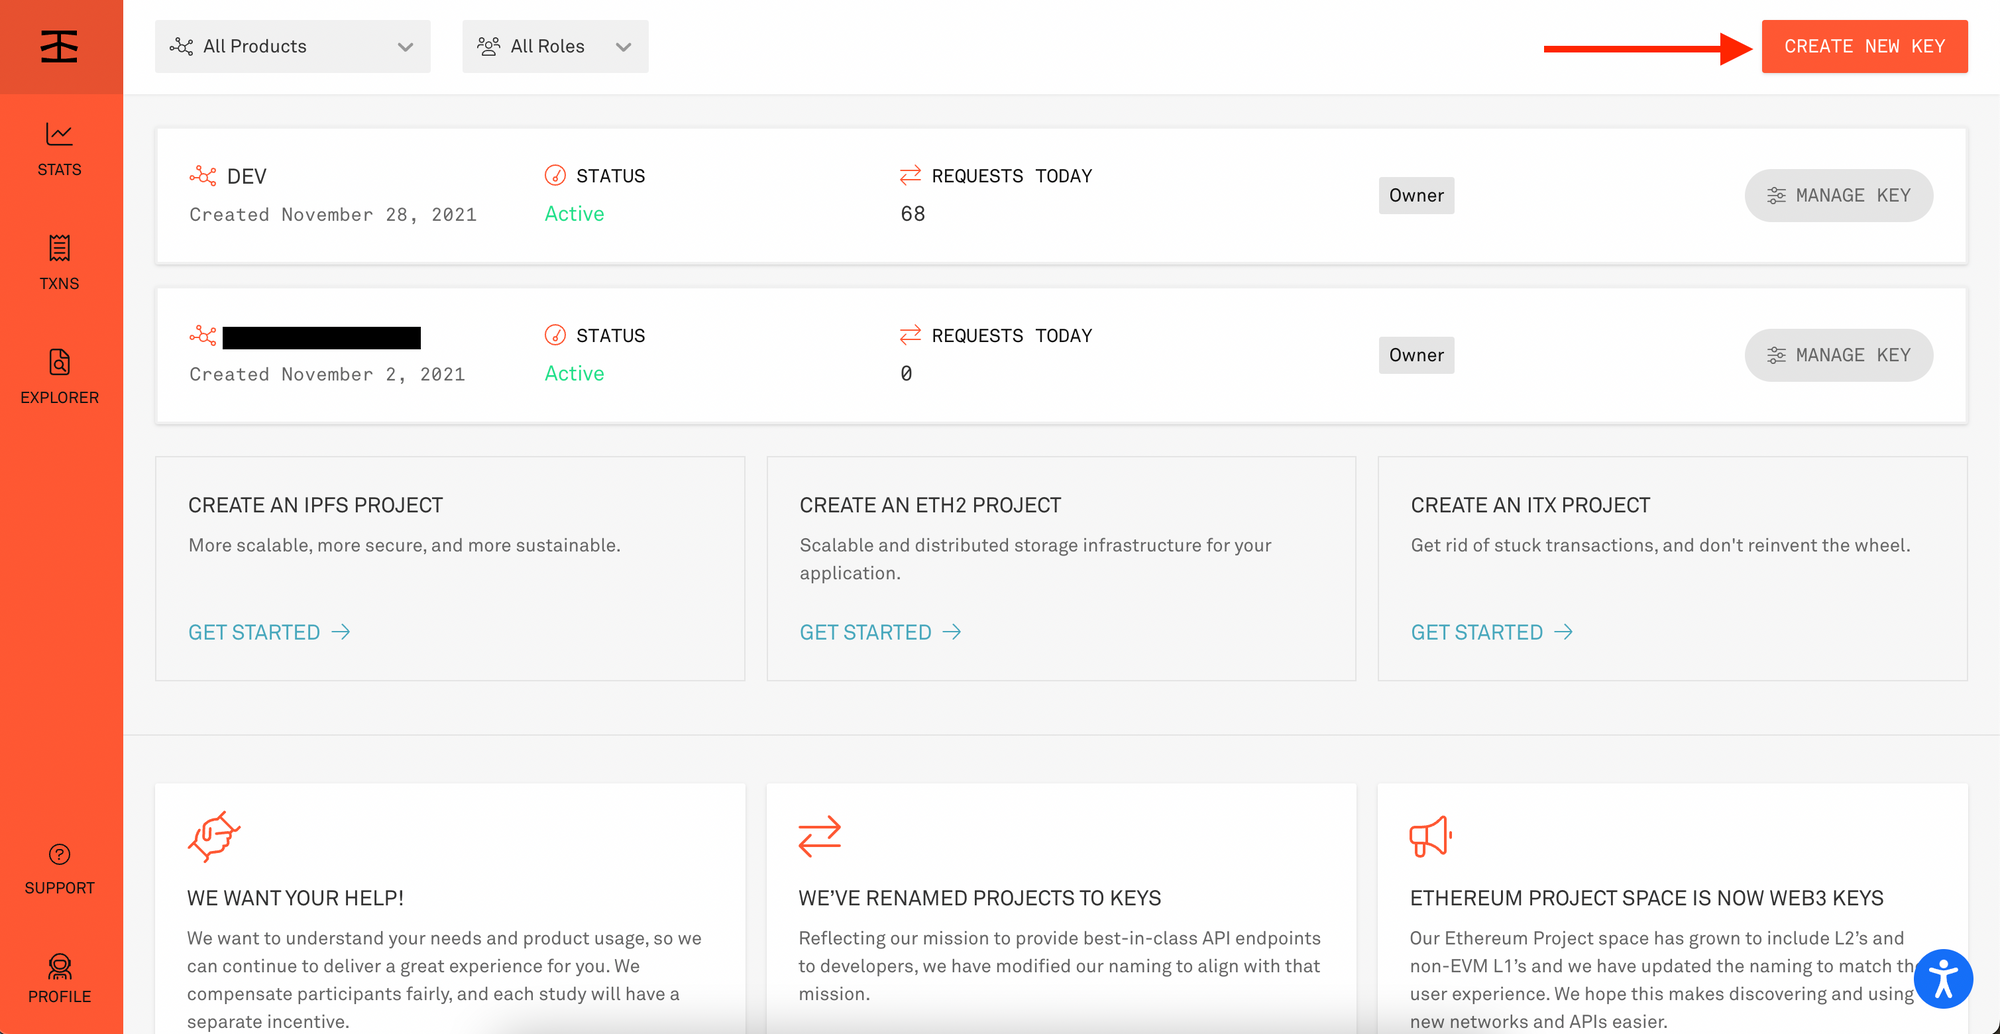
Next, in the dashboard, you need to create a new API key by clicking on the top right corner button "Create new key"
Then, you select the Ethereum network (or any other network you want to use) and you type in a name for that API key and click on "create".
In the home page now, you should see a screen like the one above with your newly created API key.
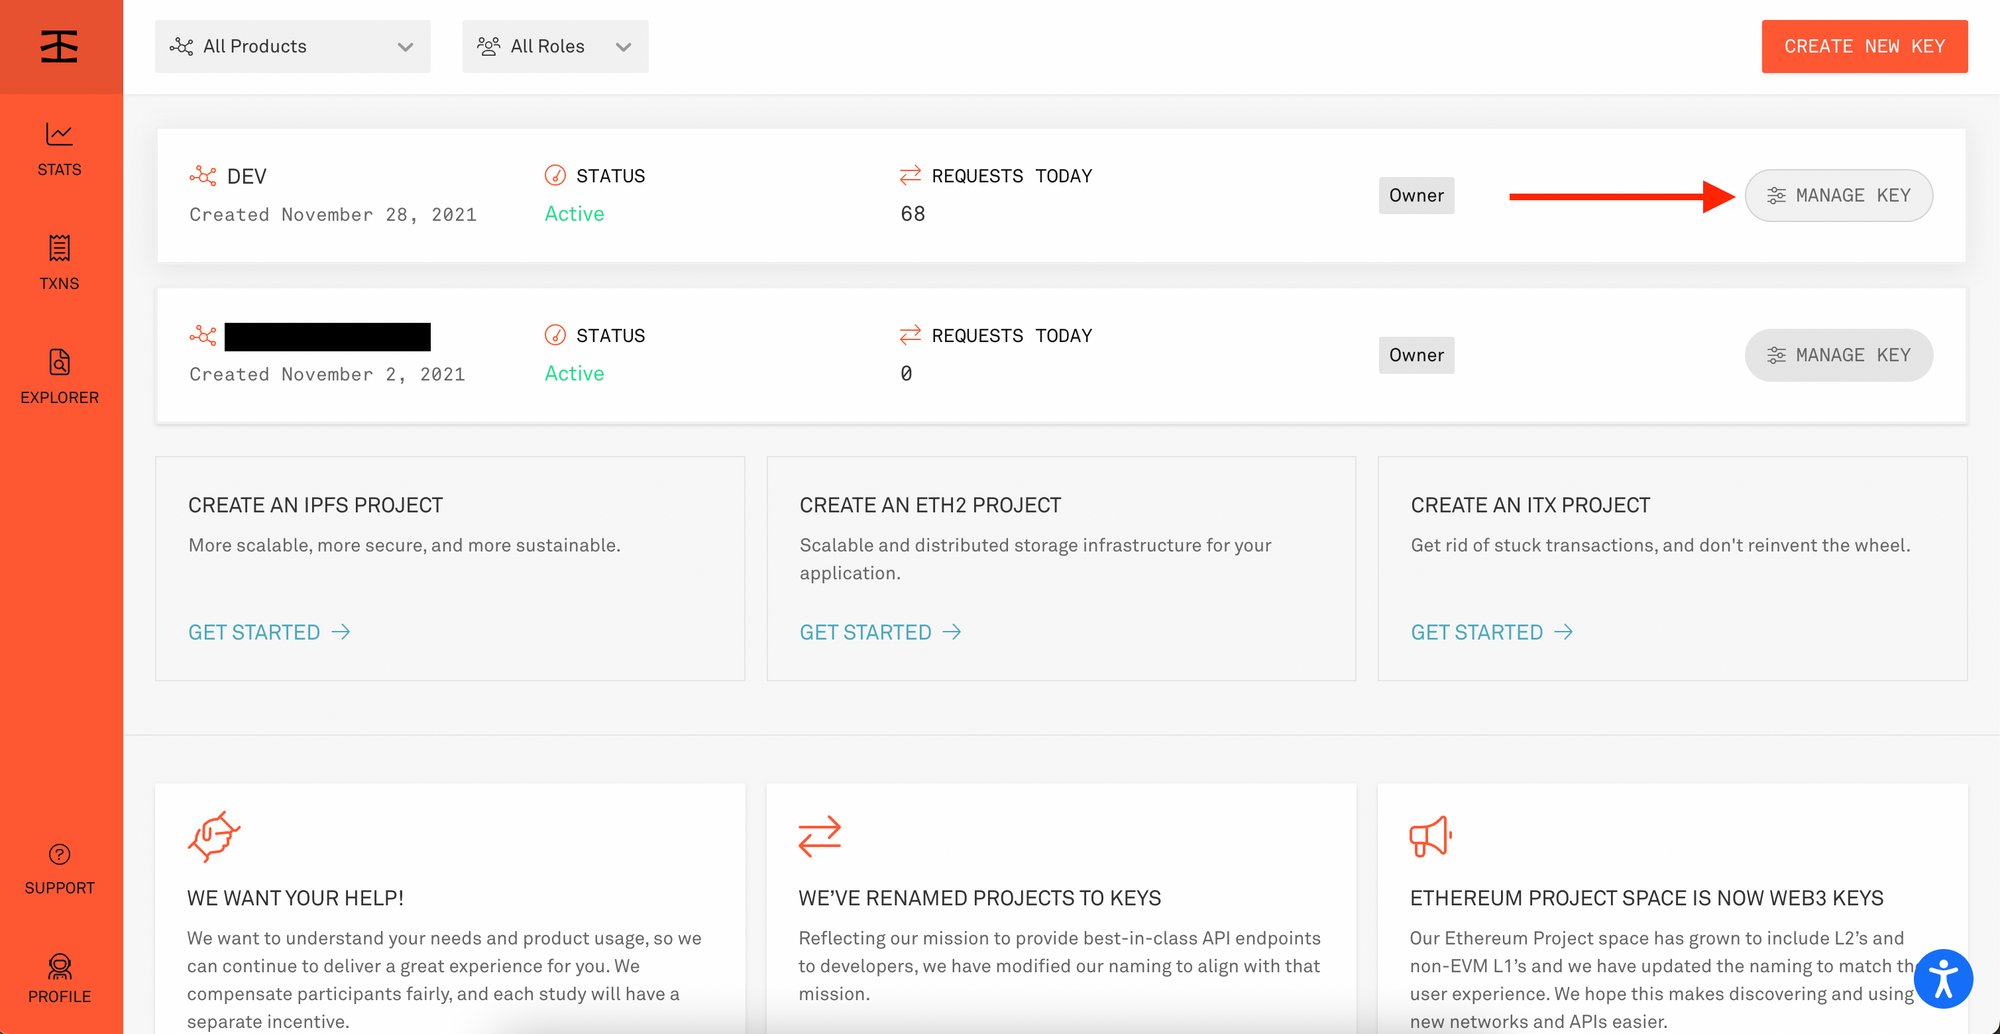
Click on "Manage key" for the API key you just created:
You will be redirected to a page where you can copy your API key and copy URLs for each supported network.
There URLs are the API URLs you can query to interact with the blockchain. Either you use them to call directly the RPC API of the network you want to interact with or you pass it to the web3 library that does that for you.
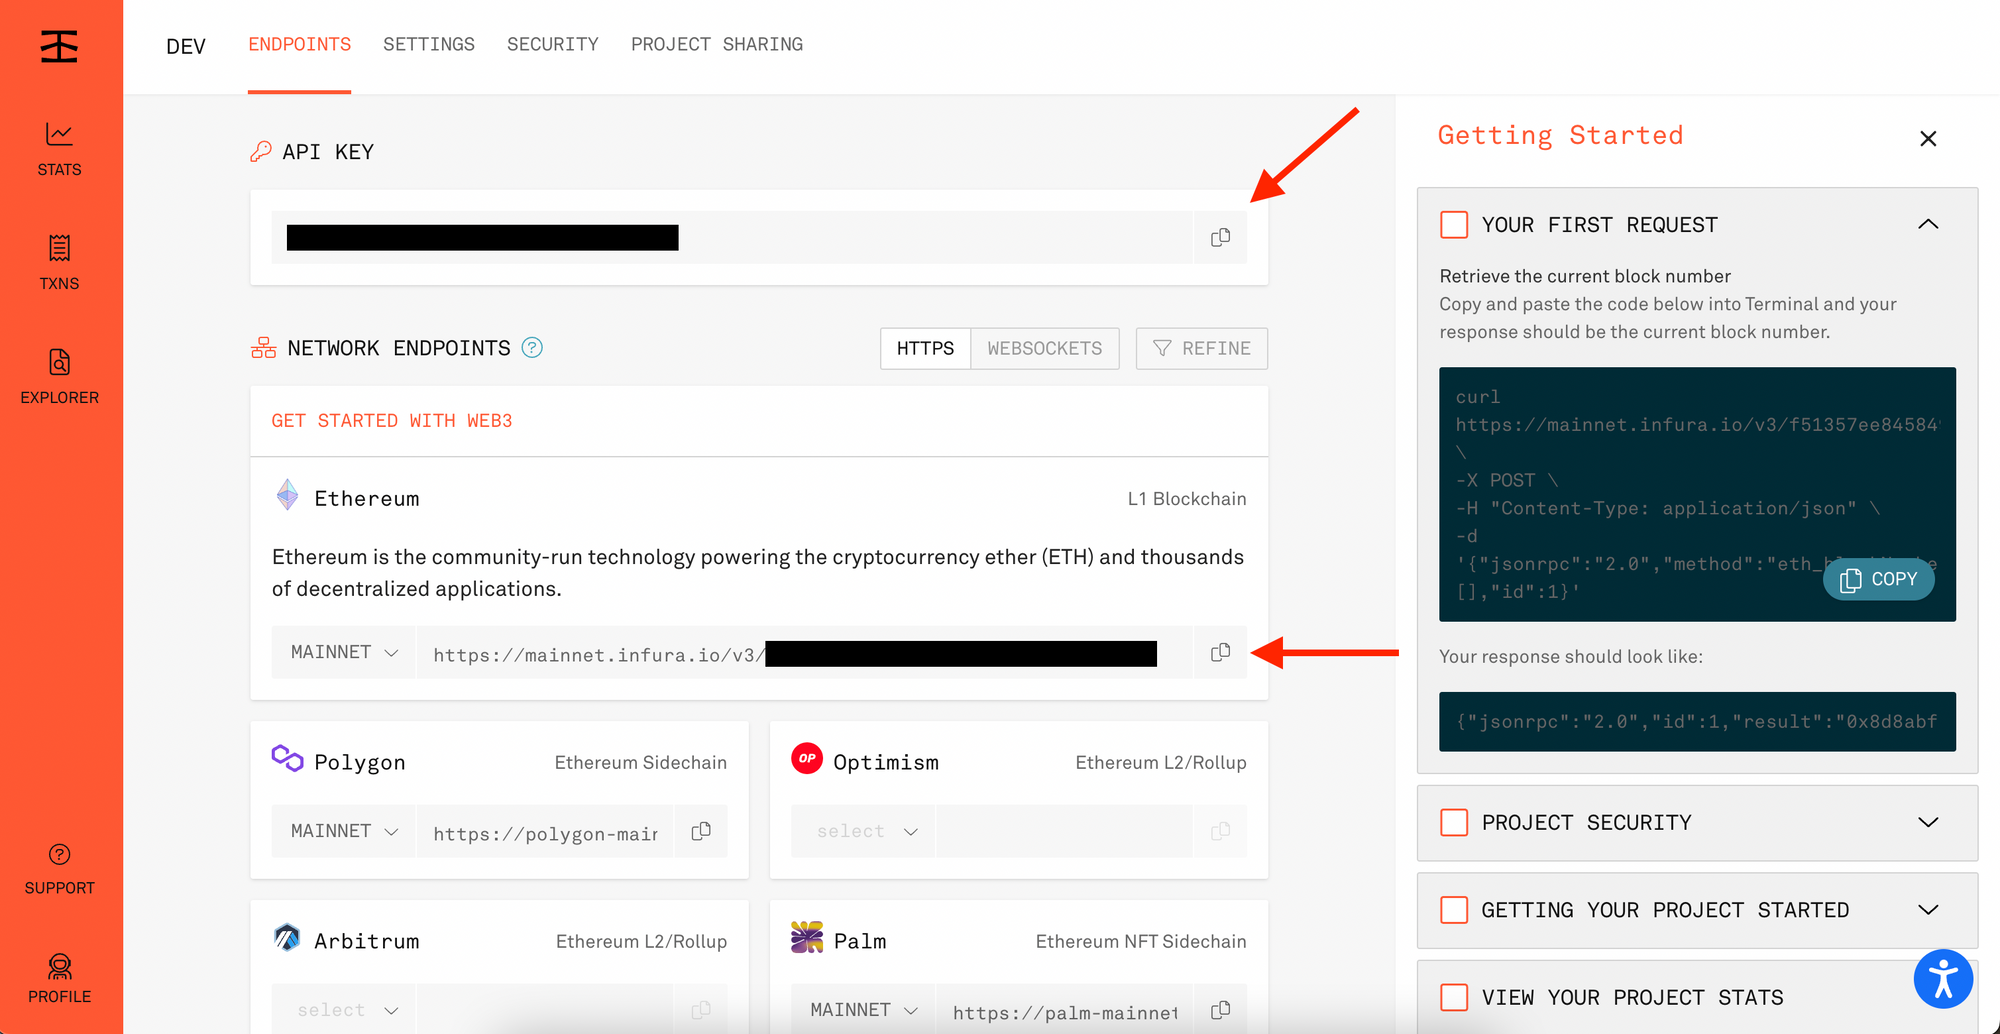
In our case, we are going to use the Web3 library so you need to copy the URL for the Ethereum mainnet (note that you can change that and get your URL for the testnet).
Once you have that URL, install the Web3 library and use it with Infura like that:
npm install web3const Web3 = require('web3');
const web3 = new Web3(new Web3.providers.HttpProvider("YOUR_INFURA_URL"))
// do what you want with the web3 library here!If you want to learn the most useful things you can do with the Web3.js library to be able to work on any dApp, leave your email below and I'll send you the Web3.js Cheat Sheet!
And that's it! 👏
Thanks for reading this article!

