
How to connect a Solana Wallet to your React app
In this tutorial, we are going to learn how to connect a Solana wallet to your React website using the Solana Wallet adapter library (@solana/wallet-adapter).
In this tutorial, we are going to learn how to connect a Solana wallet to your React website using the Solana Wallet adapter library (@solana/wallet-adapter).
The first thing you need to do is install the libraries:
npm install @solana/wallet-adapter-base \
		@solana/wallet-adapter-react \
         	@solana/wallet-adapter-react-ui \
         	@solana/wallet-adapter-wallets \
         	@solana/web3.js
You can also install these libraries using Yarn.
Setting up the app and configuring the providers
Once everything is installed, we need to wrap your app with the Providers so in the App.js file we do:
import { clusterApiUrl } from '@solana/web3.js';
import { WalletAdapterNetwork } from '@solana/wallet-adapter-base';
import {
    GlowWalletAdapter,
    LedgerWalletAdapter,
    PhantomWalletAdapter,
    SlopeWalletAdapter,
    SolflareWalletAdapter,
    SolletExtensionWalletAdapter,
    SolletWalletAdapter,
    TorusWalletAdapter,
} from '@solana/wallet-adapter-wallets';
import { ConnectionProvider, WalletProvider } from '@solana/wallet-adapter-react';
import { WalletModalProvider } from '@solana/wallet-adapter-react-ui';

import './App.css';

// import the styles
require('@solana/wallet-adapter-react-ui/styles.css');

function App() {
	// you can use Mainnet, Devnet or Testnet here
    const solNetwork = WalletAdapterNetwork.Mainnet;
    const endpoint = useMemo(() => clusterApiUrl(solNetwork), [solNetwork]);
    // initialise all the wallets you want to use
    const wallets = useMemo(
        () => [
            new PhantomWalletAdapter(),
            new GlowWalletAdapter(),
            new SlopeWalletAdapter(),
            new SolflareWalletAdapter({ solNetwork }),
            new TorusWalletAdapter(),
            new LedgerWalletAdapter(),
            new SolletExtensionWalletAdapter(),
            new SolletWalletAdapter(),
        ],
        [solNetwork]
    );

    return (
        <ConnectionProvider endpoint={endpoint}>
            <WalletProvider wallets={wallets}>
                <WalletModalProvider>
                    <div className="App">
                    	{/* YOUR APP HERE */}
                    </div>
                </WalletModalProvider>
            </WalletProvider>
        </ConnectionProvider>
    );
}

export default App;
As you can see, we need to wrap our app in a ConnectionProvider, a WalletProvider and a WalletModalProvider.
First, we initialise the Solana provider using the network we want to use (either Mainnet, Testnet or Devnet) and pass it in the props of the ConnectionProvider.
As you may have guessed, the real Solana network is the Mainnet. Testnet and Devnet are networks that work just like the mainnet but it's fake tokens and fake money, it's just for you to test.
Then, we initialise all the wallet adapters of the wallets that we want to display in the modal. All these wallets will be available for the user to connect to your app with. I recommend passing as many wallets as possible to give as many options as possible to your users.
Next, we pass all these wallets in the props of the WalletProvider.
Lastly, we need to wrap our app with the WalletModalProvider which allow us to display the modal where the users select and connect their wallet.
Don't forget to add require('@solana/wallet-adapter-react-ui/styles.css'); at the top to import the default styles of the modal and the connect button.
Creating the connect button
Now that our app is wrapped with the right providers and everything is configured, we can use the hooks and the components of the @solana/wallet-adapter, the @solana/wallet-adapter-react-ui, and the @solana/wallet-adapter-react libraries in the child components of the App component.
If you want to use the default button, with the default styles and behaviour, all you have to do is use the WalletMultiButton component:
import { WalletMultiButton } from '@solana/wallet-adapter-react-ui';
import { useConnection, useWallet } from '@solana/wallet-adapter-react';
const MyComponent = () => {
const { connection } = useConnection();
const { publicKey, sendTransaction } = useWallet();
return (
<div>
<WalletMultiButton />
</div>
)
}
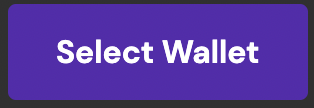
export default MyComponentThat code will displat a demo button that looks and works like this:
1. The button looks like this before you connect a wallet
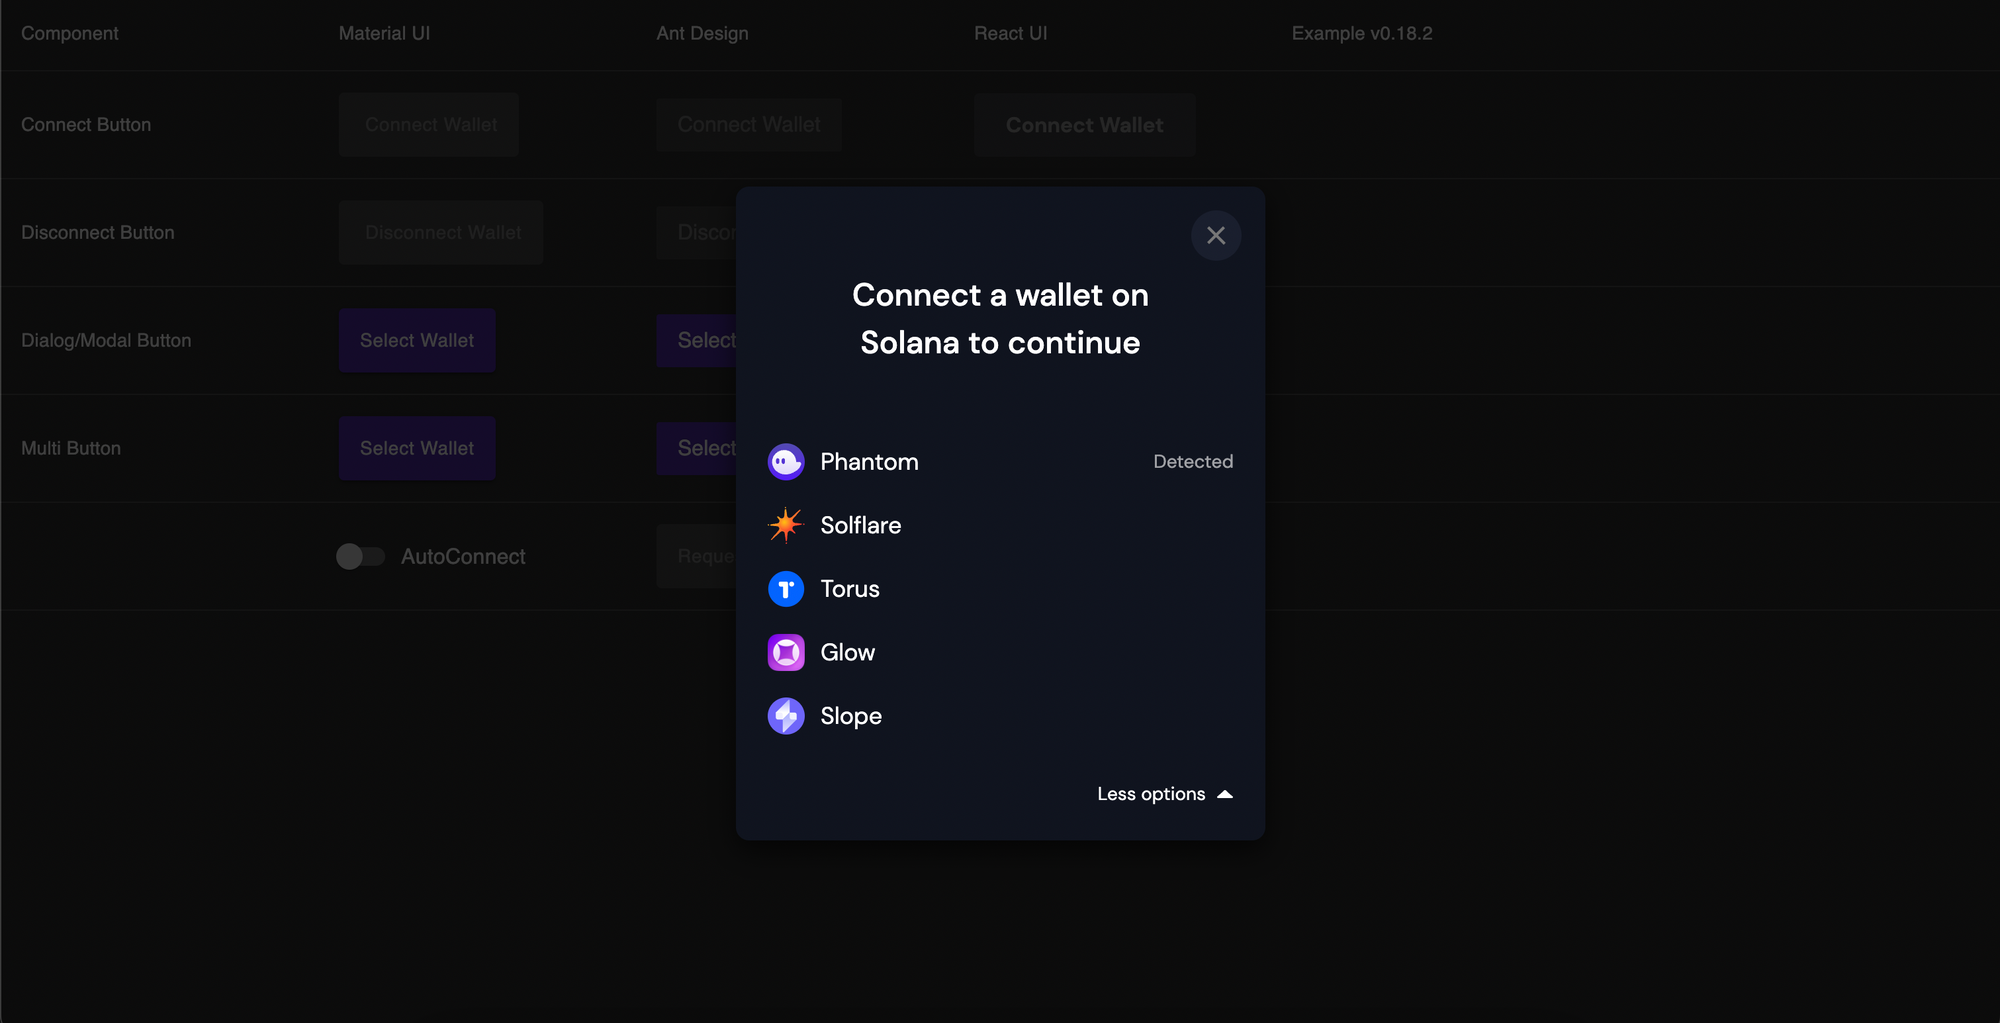
2. When you click on the button, a modal appears and you can select a wallet from the options available. Only the detected wallets appear at this point.

3. If you click on "More options", you see all the wallets that you initialised previously, not just the detected wallet
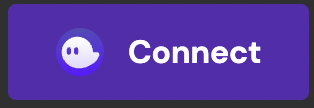
4. When you select a wallet, the modal disappears and the button changes. It becomes a button to connect the wallet you selected
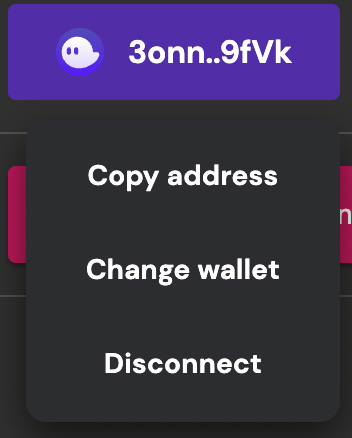
5. When you click on that connect button, a pop-up will appear on the wallet and ask the user to accept (or reject) connecting the wallet to the website. If the user rejects, nothing changes. If the user accepts, the button changes and allows to copy the address of the connected wallet, select another wallet or disconnect.
To see a full demo, go to this website: https://solana-labs.github.io/wallet-adapter/example/.
How to make a custom connect wallet button
If you want to make a custom connect button and not use the one that I showed above, you can create your button and when it's pressed, you call the setVisible function that the useWalletModal hook.
That function takes in parameters a boolean. If that boolean is true, it will display the modal. On the modal, the users just need to select a wallet and it will open a pop-up on their wallet for them to accept or reject connecting their wallet to your website.
If you pass autoConnect={true} in the props of the WalletProvider like this:
// IN App.js:

// ... REST OF THE CODE ...

return (
  <ConnectionProvider endpoint={endpoint}>
    <WalletProvider wallets={wallets} autoConnect={true}>
      <WalletModalProvider>
        <div className="App">
          {/* ... your app ... */}
        </div>
      </WalletModalProvider>
    </WalletProvider>
  </ConnectionProvider>
)

// ... REST OF THE CODE ...
Then, once the user selects a wallet, it will automatically connect the app to it.
Here is an example of how to create a custom connect button and use the setVisible function:
import { setVisible } from '@solana/wallet-adapter-react-ui';

const ConnectWallet = () => {
    const { setVisible } = useWalletModal();

    const connect = () => {
        setVisible(true)
    }

    return (
        <button onClick={connect}>Connect wallet</button>
    )
}

export default MyComponent
Another option to create a custom button is to pass a className to the WalletMultiButton component and use CSS to change the style of the button.
Interacting with the connected wallet
Now that a wallet is connected to your app, you can interact with it using the useWallet hook.
The useWallet hook returns an object that contains useful properties to interact with the connected wallet.
Here are the interesting values in the values that the useWallet hook returns:
publicKey: the address of the connected wallet. It's aPublicKeyobject.connecting:truewhile waiting for the user to accept connecting their wallet to your app andfalseotherwiseconnected:truewhen a wallet is connected,falsewhen no wallet is connectsendTransaction: allows to send a transaction from the connected wallet. Takes in parameter aTransactionobject.signTransaction: allows to sign a transaction from the connected so it's ready to be sentsignAllTransactions: allows to sign multiple transactions at once from the connectedsignMessage: allows to sign data from the connected wallet. It generates a signature for the message passed in the parameters, using the connected wallet.
Here are a few articles that you might be interested in at this point:
- How to send Solana to another wallet
- How to send tokens to another wallet on the Solana network
- How to sign a message
- How to get the token balance of a Solana address
- How to get the Solana balance of an address
Fixing the eventual errors
If you use Create-react-app with Webpack 5, you might have errors when you run the app saying that some libraries or polyfills are missing due to Webpack 5.
To fix these issues, check out this tutorial we made:
And that's it 🎉
Thank you for reading this article

